Background
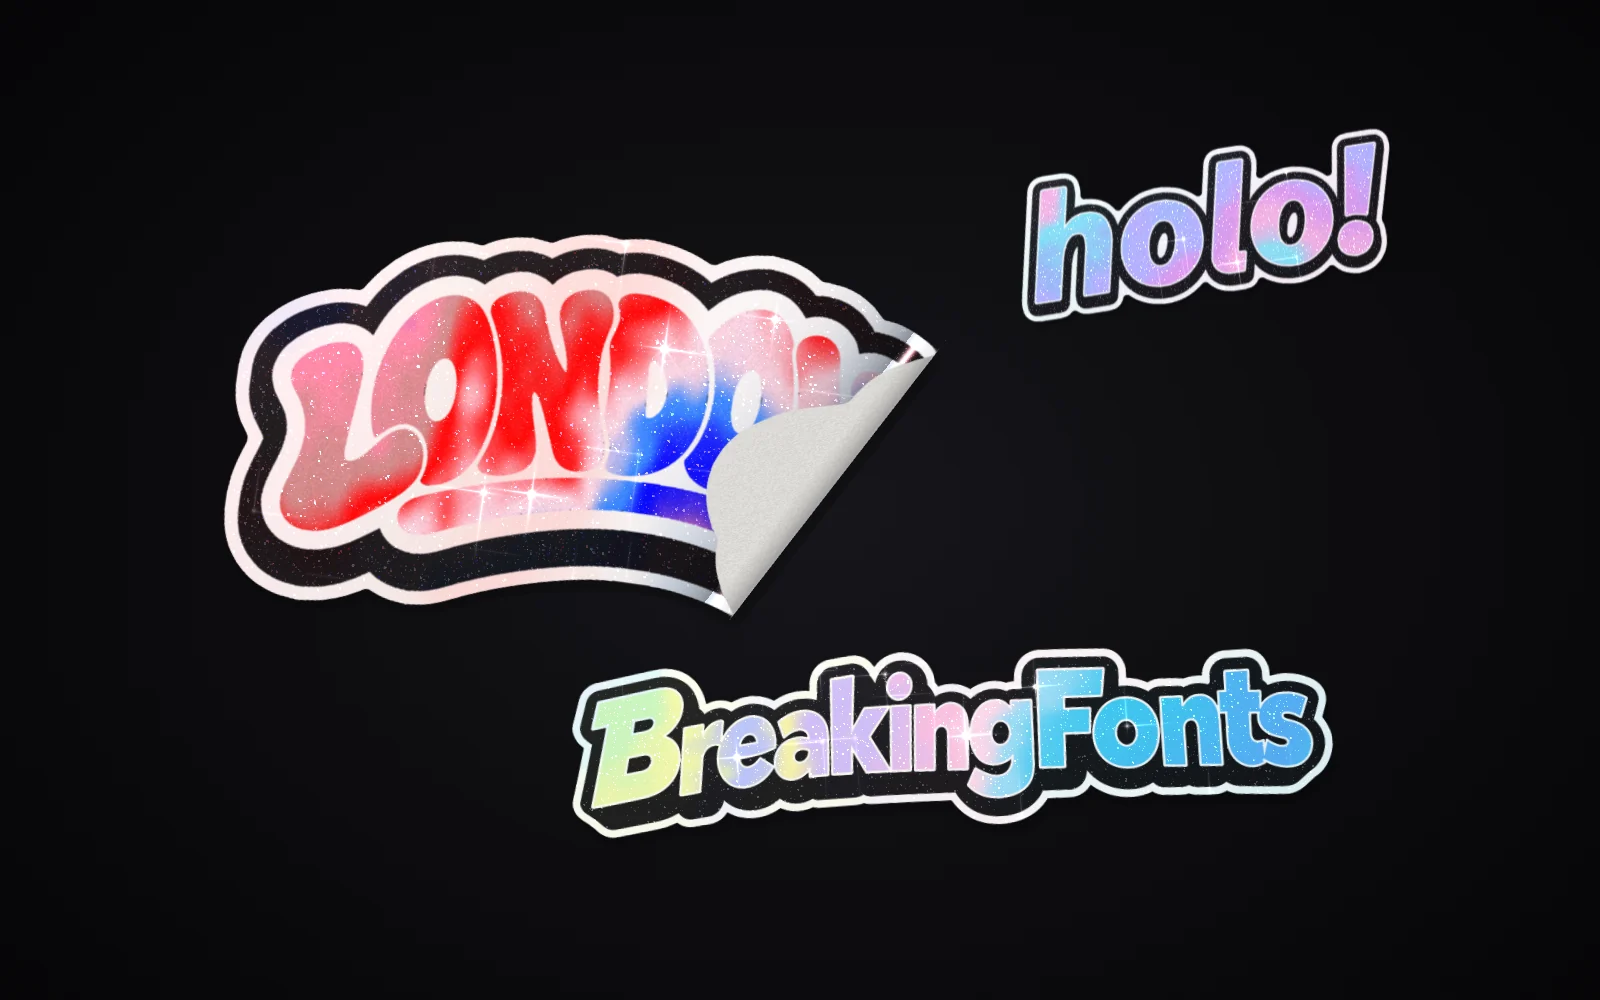
I wanted my printed holographic sticker on my site, catching the light and peelable. I got one working by hand. The real question came after: could that one-off solution become a system that does the job for any design, without me rebuilding it each time?
Process
A CSS prototype, then a WebGL component, then a tool around it. The key decision was a single mask file as the contract between the two, which kept the component small and stable while the tool changed freely. The tool’s interface went through three directions before landing on the quietest one.
Result
HoloStudio, an internal tool I’m happy with: drop in a PNG, get a live sticker and the snippet to paste into a site. Two stickers made with it run on this site’s home page, backed by 20 end-to-end tests, documentation and continuous deployment.
From one sticker to a system
This was a deliberately quick exercise, a few days of work. The brief I set myself: take something I had solved once, by hand, and turn it into a system that automates the task, then keep conceptualising and iterating until the result was a tool I’d be happy to use internally. Not a product launch, and not a pixel-perfect showcase: a small, honest loop of problem, system, tool.
The effect was the easy part
My first attempt was pure CSS: the same word stacked in layers, with gradients, blend modes and a glitter texture, tilting towards the cursor. It got surprisingly close for a static tilt, but it hit a wall fast. CSS can’t curl a surface, so there was no peeling, and the foil couldn’t react to the angle of a fold, only slide across a flat plane.
So I moved to WebGL. The sticker became a finely subdivided mesh that wraps around an invisible cylinder when you drag it, with the foil colour worked out per pixel from the angle of the surface and the viewer. To get the colours right I didn’t invent a palette: I sampled a photo of the printed sticker strip by strip and tuned the foil until the render matched the real one.
The mask is the contract
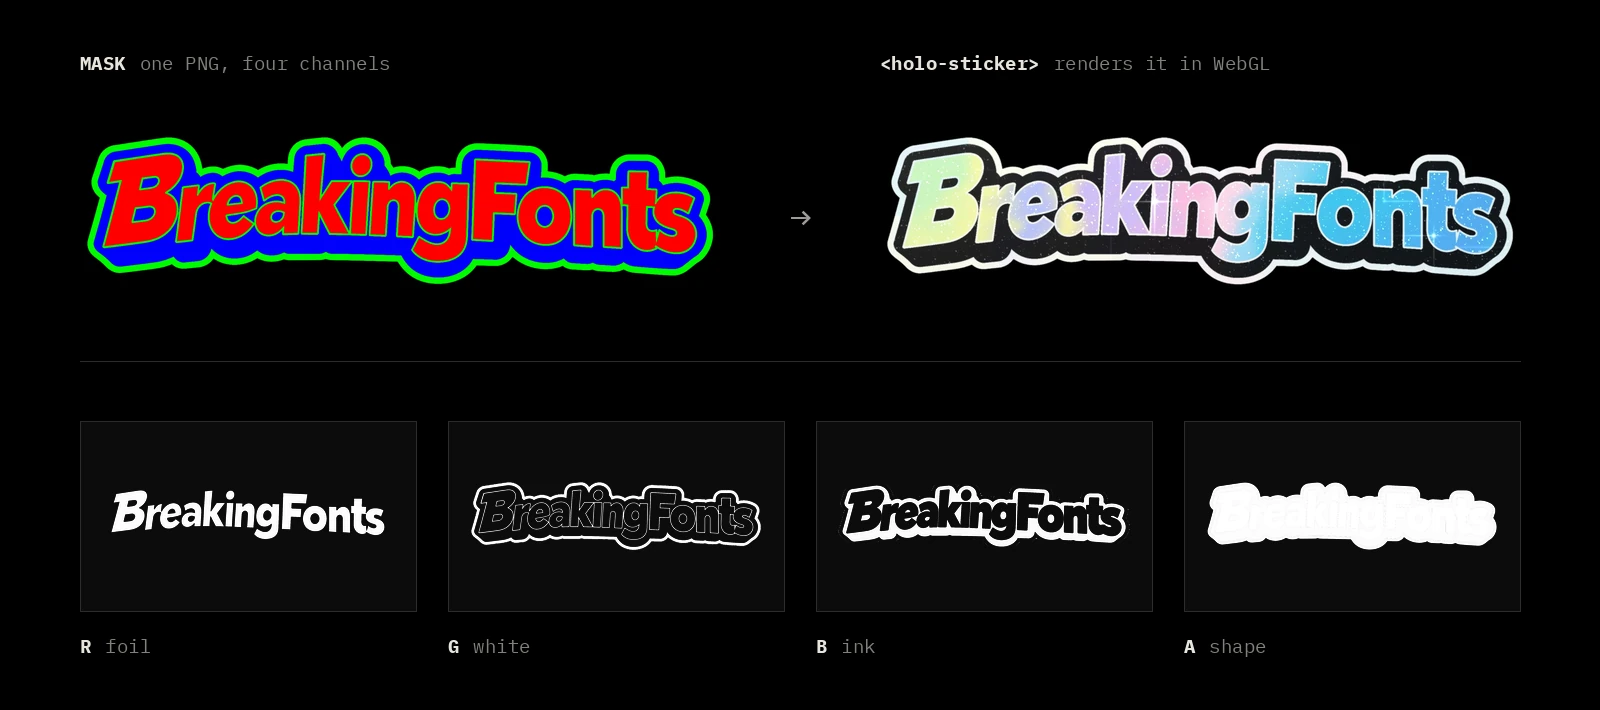
A single effect is a demo. To make stickers repeatable, I needed to separate what a sticker is from how it’s drawn. The answer was one small PNG, the mask, where each colour channel means one printed layer: red is foil, green is white, blue is black ink, and alpha is the die-cut shape.
The component never sees the original artwork, only the mask and a handful of attributes: colours for the foil, sequins, glitter, rotation, tilt, and whether it peels. That’s the same logic as a design system token: one format both sides agree on, so the tool can change freely without breaking any sticker already on a page. New options are only ever added as new attributes, so old masks and old snippets keep working.
Process: four phases, a few days of work
CSS first to find the look, then WebGL for curl, lighting and a foil that reacts to angle.
The mask format, a Web Component with a small attribute API, reduced-motion support, pausing off screen.
Automatic layer split, generated borders and die-cut, palette from the artwork, a brush for corrections, one-click export.
End-to-end tests, a redesign, documentation, deployment, and a launch thread built from real renders.
Designing the tool
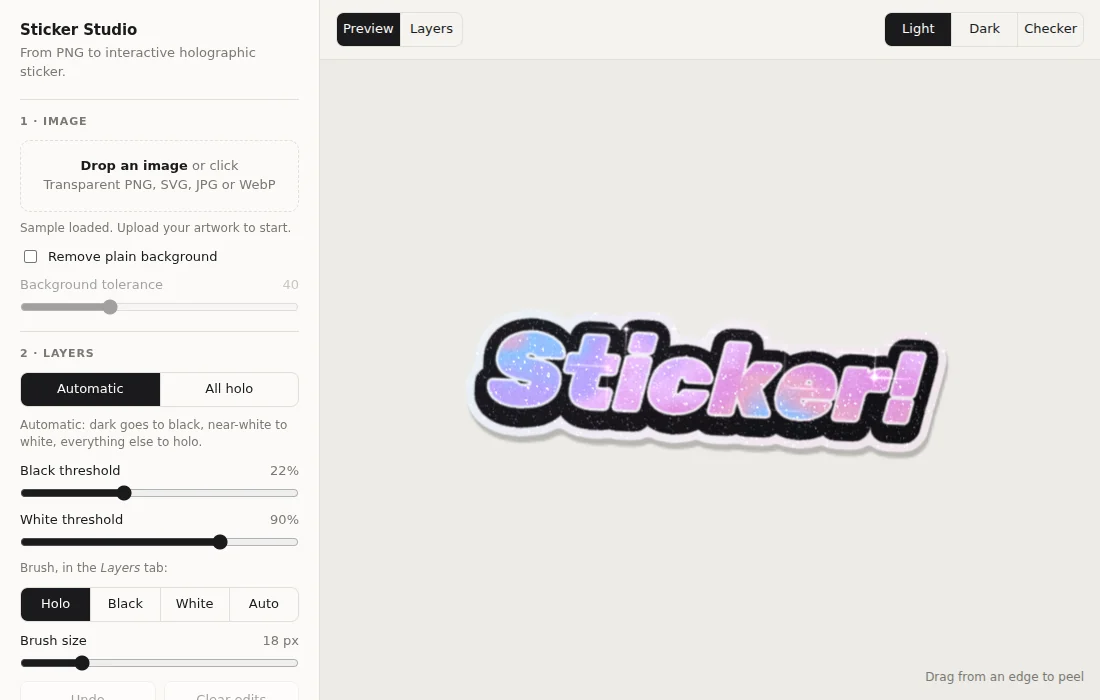
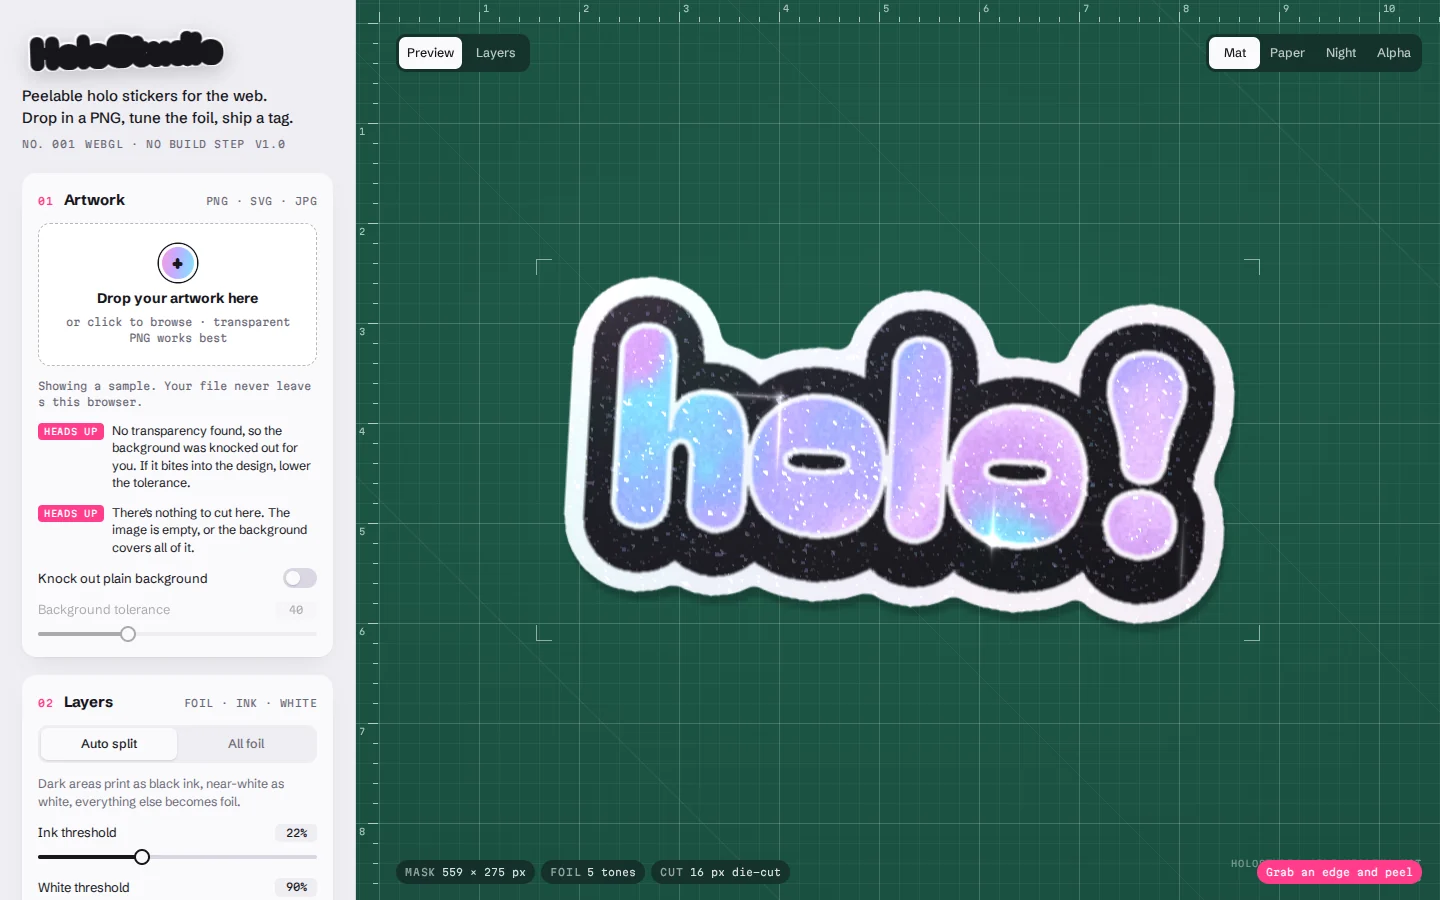
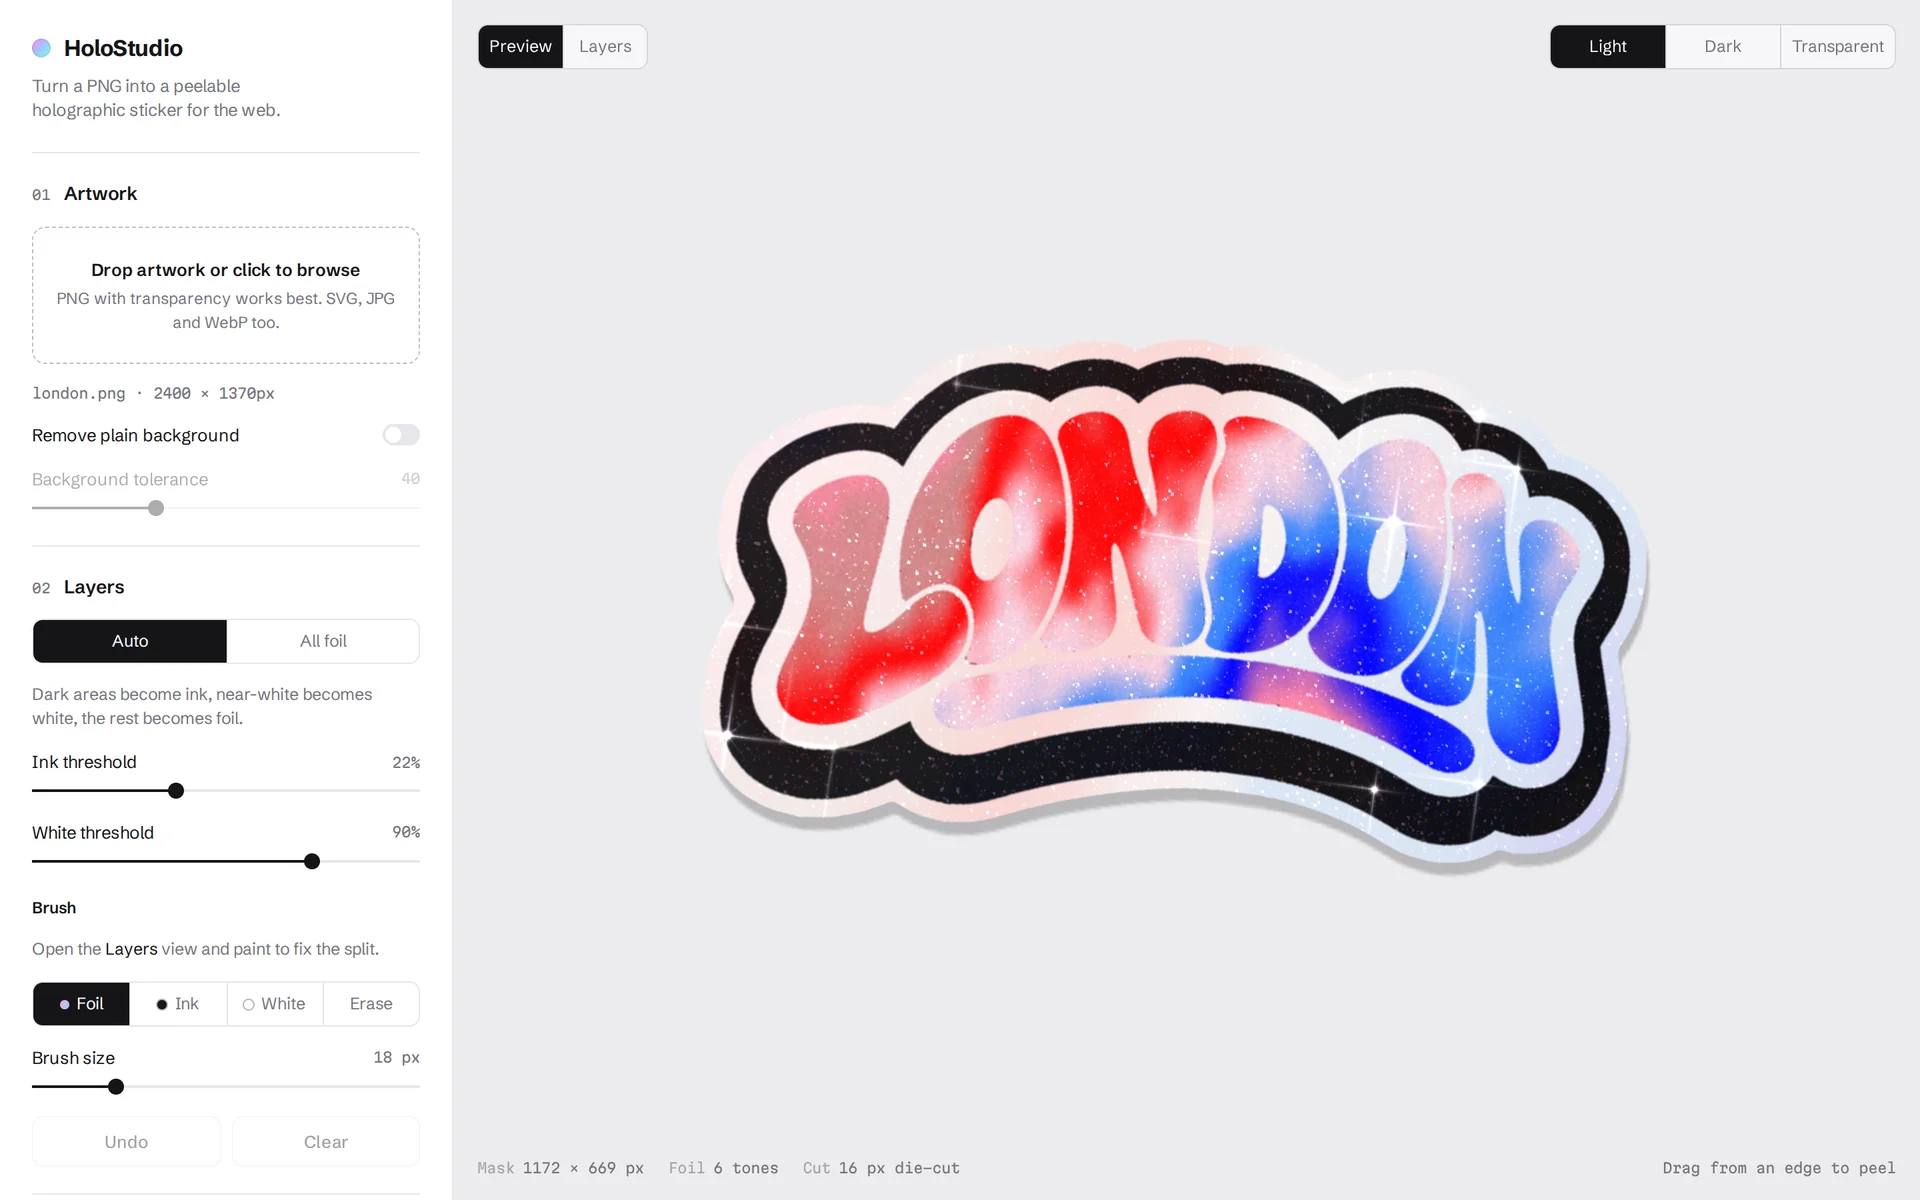
Making the first masks by hand meant redrawing each design in key colours. It worked, but nobody else would ever do it. HoloStudio replaces all of that. You drop in a PNG and it splits dark areas into ink, near-white into white and the rest into foil, grows the white inline, outline, extrusion and rounded die-cut around any shape, and pulls a foil palette from the artwork itself. A brush fixes whatever the automatic split gets wrong, and the export is a zip with the component, the mask and the exact snippet to paste.
The interface took three directions. The first was purely functional. The second went all in on the craft of sticker printing: a green self-healing cutting mat as the canvas, rulers, crop marks, a job-ticket sidebar and a chunky sticker wordmark. It was fun and it photographed well, but the costume competed with the one thing that mattered, the sticker, so I dropped it. The final version is quiet on purpose: one typeface, monochrome controls, a plain stage. The sticker is the only colour on the screen.
Quality, even for an internal tool
I wrote an end-to-end test suite that uses the tool the way a person would: it uploads awkward files, drags every control to its limits, paints with the brush, undoes, exports, and checks the layout on a phone. It found real problems. A fully transparent PNG froze the app. JPGs came out as rectangles with their background baked in, so the tool now knocks plain and fake-checkerboard backgrounds out automatically. SVGs rasterised at 300 px, and a sticker moved around the page stopped animating. All of them are fixed and covered by the 20 tests.
Try it
These are the same stickers as on the home page, running live. Tilt them with the cursor, or grab an edge and peel.
Drag from an edge to peel · WebGL2
Launch
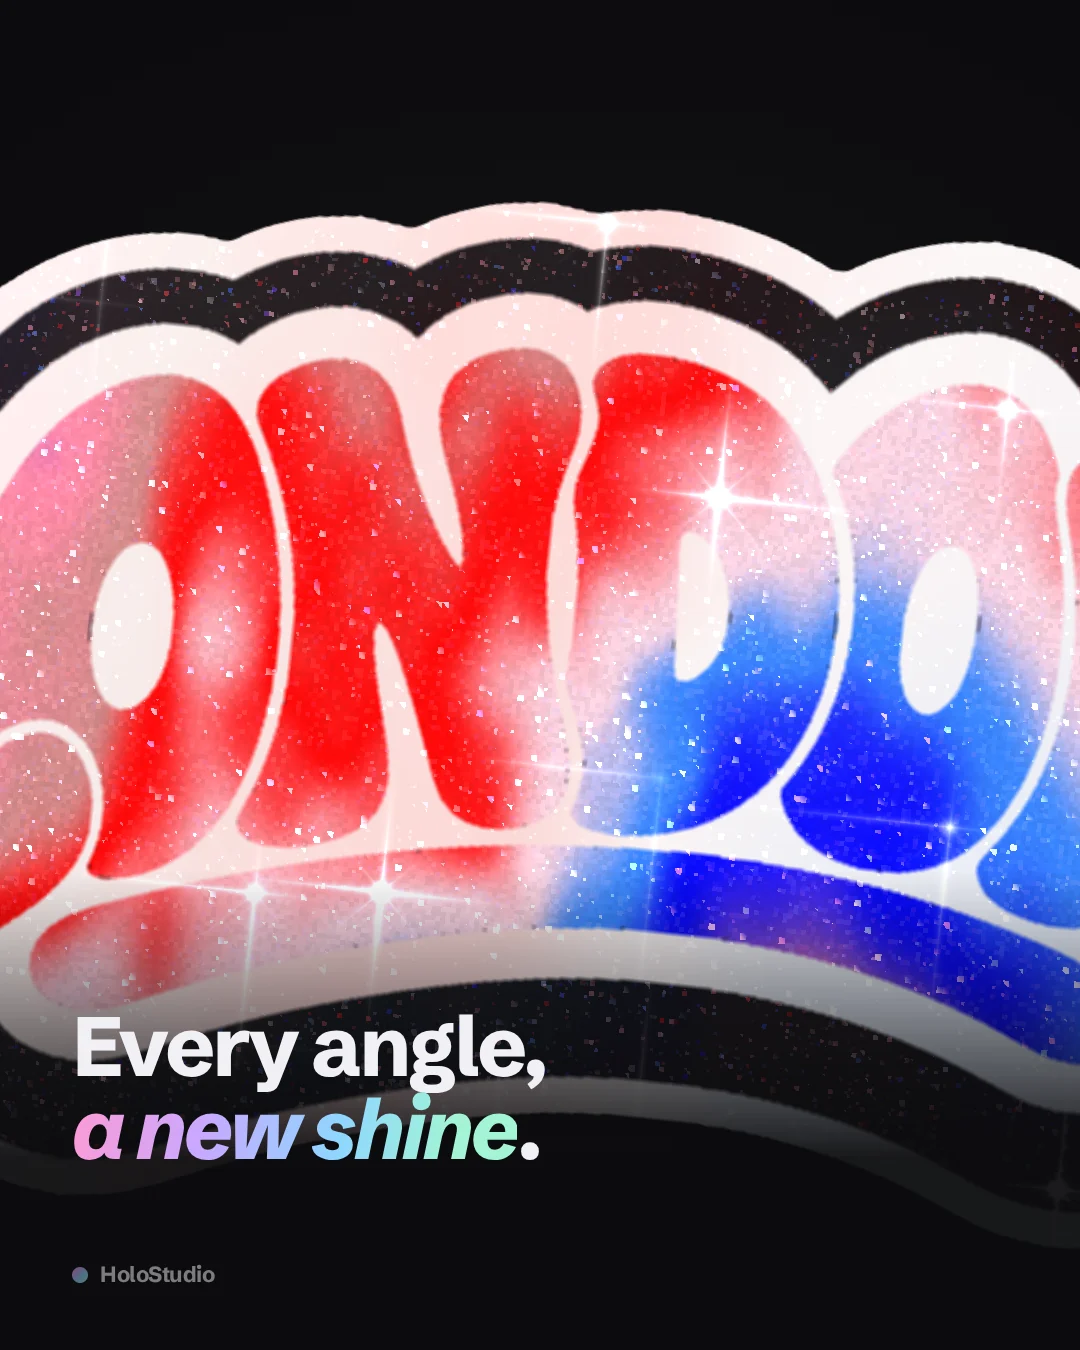
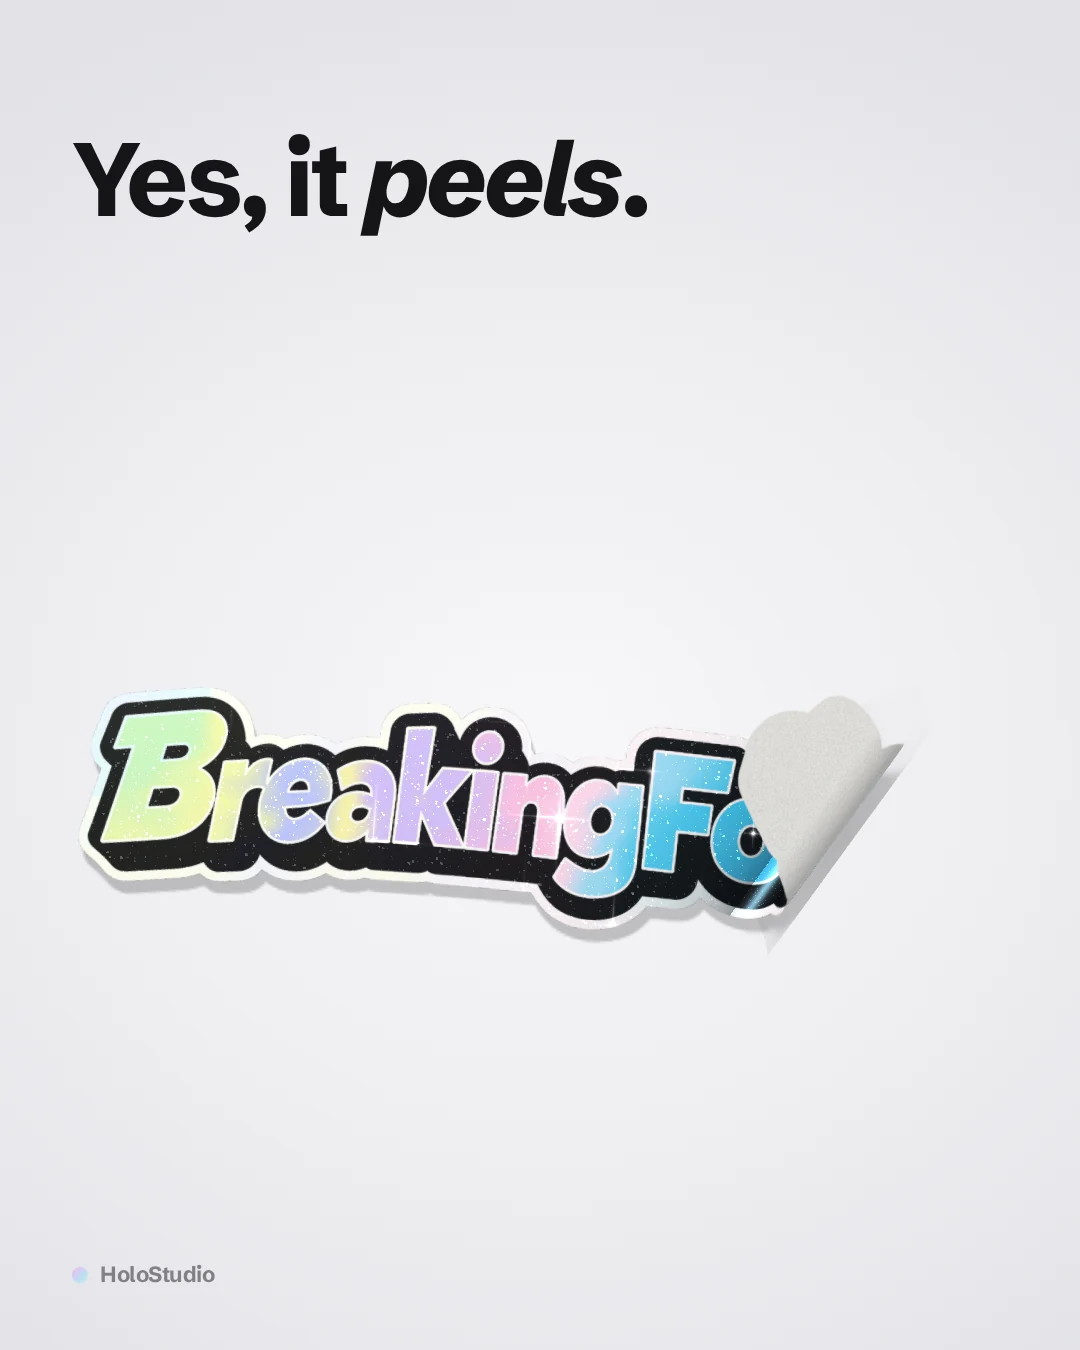
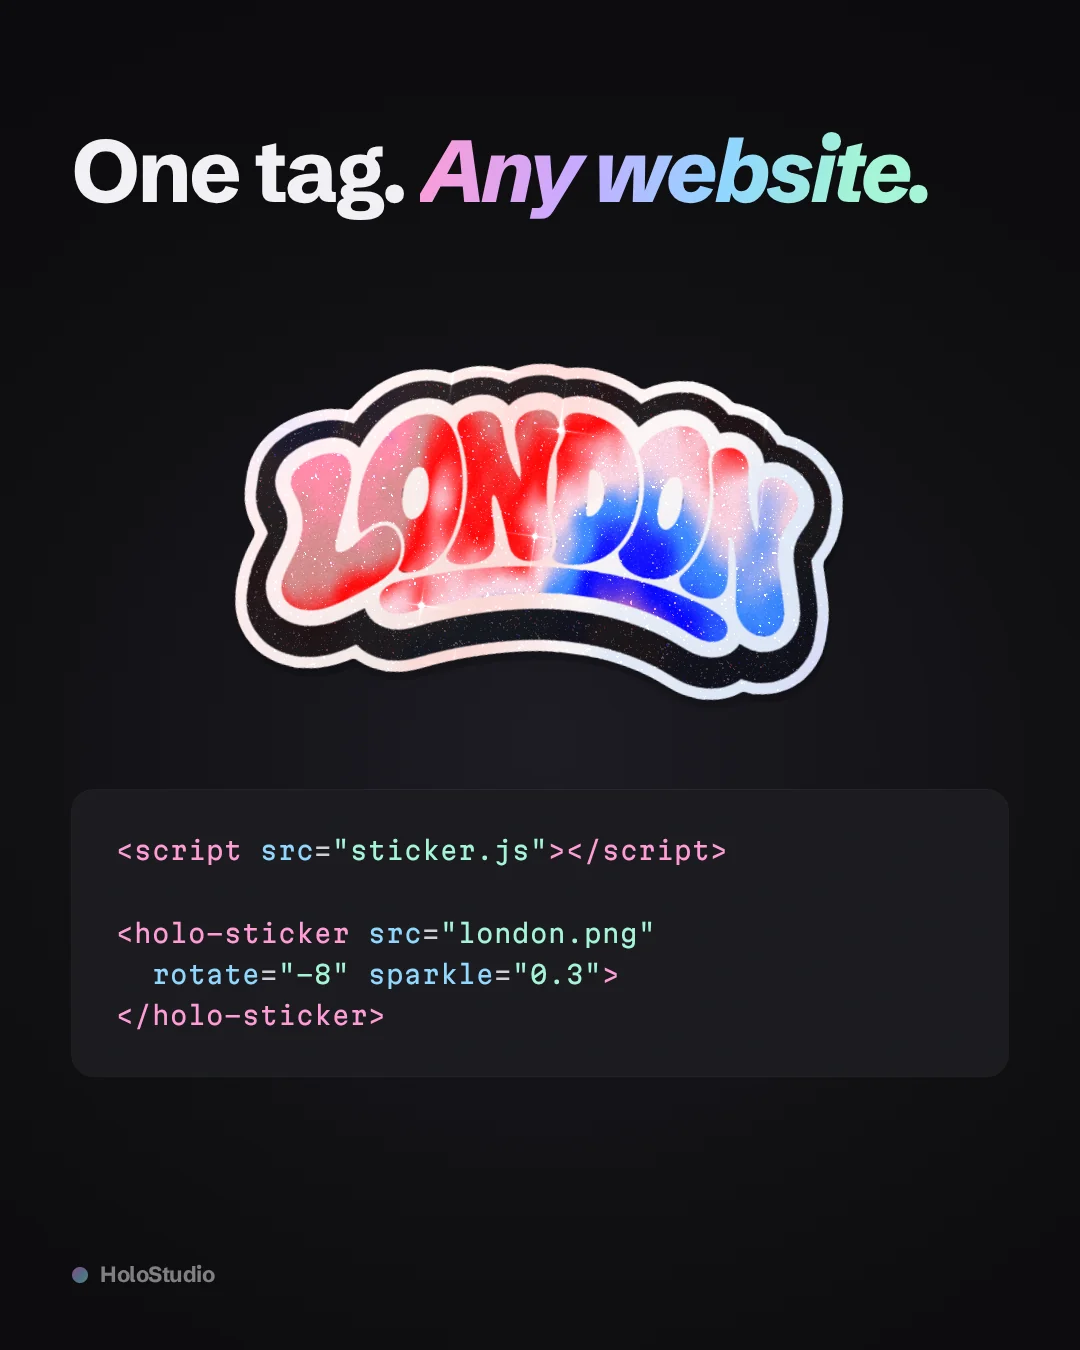
For the launch thread, the images are built from renders of the component with my own stickers, laid out in the same quiet system as the tool.
Reflection
The effect took an afternoon. Making it repeatable took everything else, and that’s where the design work was: choosing a format that separates the sticker from its rendering, keeping the component’s surface small, and building a tool whose interface gets out of the way.
Working with AI tools changed where my time went. Less of it went into writing shader code, and more into deciding what the tool should and shouldn’t do, reviewing every result against the printed sticker, and dropping directions that looked impressive but served the product poorly.
As an exercise, it did what I wanted: a one-off became a system, and the system became a tool I actually use. The next time I need a sticker on a page, it’s a PNG and a minute of tuning, not an afternoon.
Solving something once is a result. Turning it into a system you can reuse is the design work.